Clipping path is an essential technique in photo editing that I use frequently in my work. It is a process of cutting out an object from its background and placing it onto a different background or removing the background altogether. This technique is useful for various reasons, including removing unwanted elements from an image, creating a unique composition, or isolating an object for further editing.
One of the benefits of using a clipping path is that it allows for more precise editing. By separating an object from its background, I can make targeted adjustments to the object without affecting the background. This is particularly useful when working with complex images or objects with intricate details. Additionally, clipping paths can be saved and reused, making the editing process more efficient and consistent.
The clipping path is a valuable tool for anyone working with digital images. Whether you are a professional photographer, graphic designer, or hobbyist, this technique can help you achieve more polished and professional-looking results. With some practice and experimentation, you can master the art of clipping paths and take your photo editing skills to the next level.
What is a Clipping Path?
clipping path is a technique used to remove the background of an image while keeping the focus subject untouched. It is a vector-based path created using the pen tool in Adobe Photoshop. Everything outside the path is removed, allowing the subject to be placed on any desired background.
How Clipping Path Works?
To create a clipping path, I open the image in Adobe Photoshop. Then, I select the pen tool and trace around the subject, creating a path that follows its edges. Once the path is complete, I right-click and select “Make Selection.” This creates a selection based on the path that I just created.
Next, I go to the “Layer” menu and select “New Layer via Copy” to create a new layer with the selected subject. I then hide the original layer to reveal the new layer with the subject on a transparent background.
Finally, I can place the subject on any desired background by creating a new layer and placing it behind the subject layer. The subject will remain untouched while the background is removed.
Clipping paths are commonly used in product photography, e-commerce, and graphic design to create clean, professional-looking images. Removing the background allows the subject to be placed on any desired background, making it more versatile and visually appealing.
Why Use Clipping Paths?
As a photo editor, I often use clipping path for various purposes. Here are some of the benefits and examples of use that I have found helpful.
Benefits
- Precise object selection: Clipping paths allow me to precisely select objects in an image, even when the object has complex edges or transparent areas.
- Non-destructive editing: Clipping paths are non-destructive, meaning the original image remains intact. This allows me to make changes to the image later on without starting from scratch.
- Efficient workflow: Clipping paths can be saved and reused, which saves me time and effort in my workflow.
Examples of Use
- Background removal: One of the most common uses of clipping paths is to remove the background from an image. This is particularly useful when the object in the image needs to be placed on a different background or used in a design project.
- Image manipulation: Clipping paths can be used to manipulate images in various ways, such as creating composite images or adding special effects.
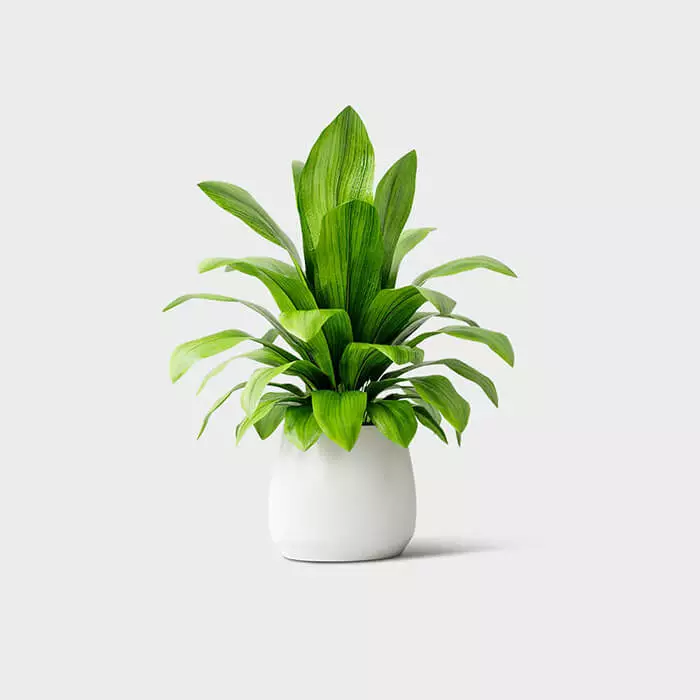
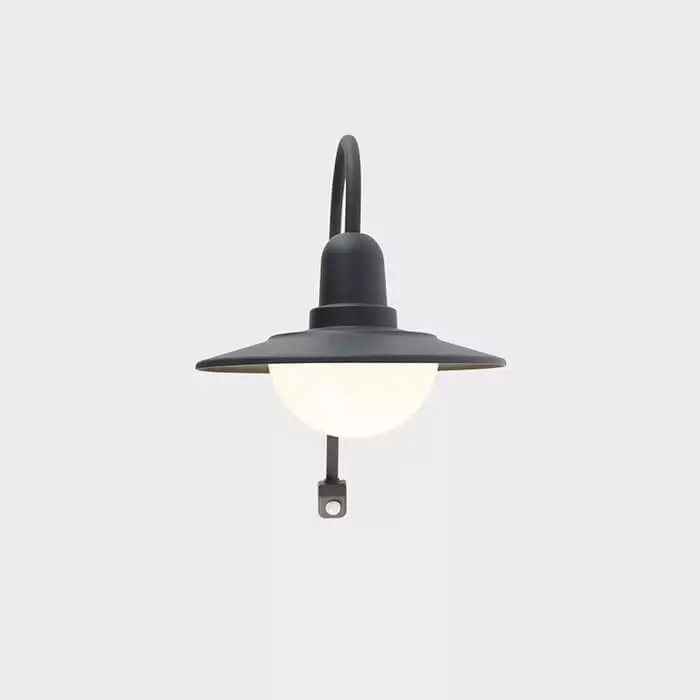
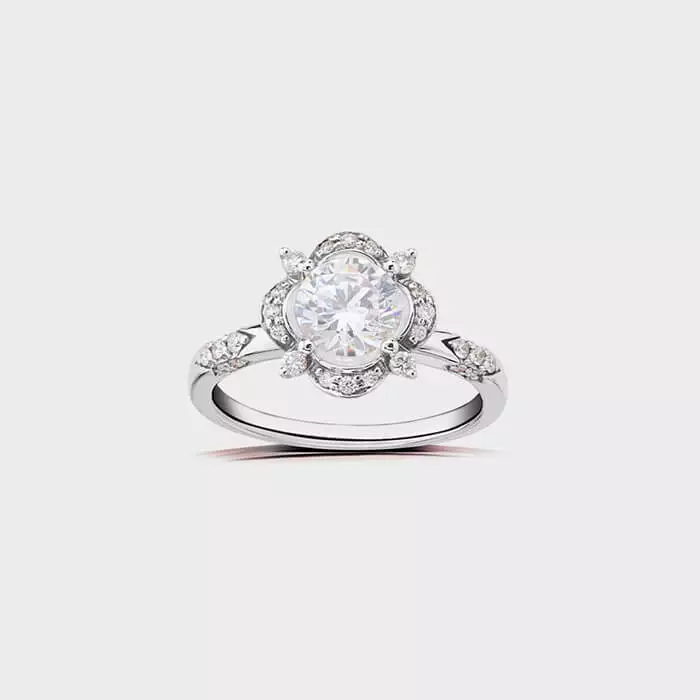
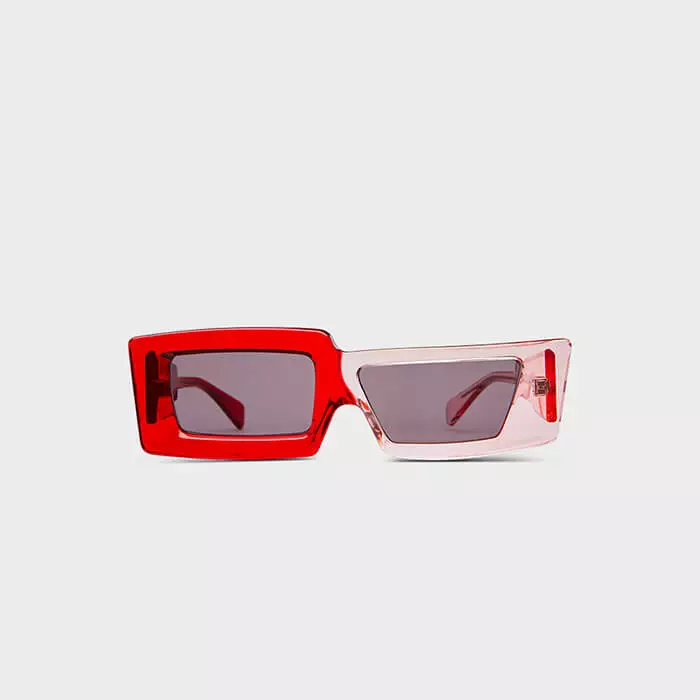
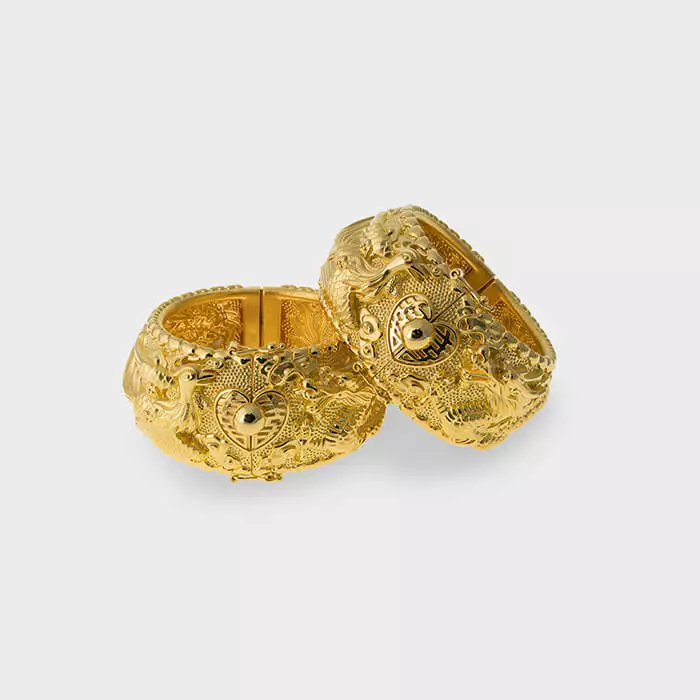
- Product photography: Clipping paths are often used to create a clean, white background for the product image. This makes the product stand out and look more professional.
Types of Clipping Path
I use clipping path techniques for various purposes as a professional photo editor. Depending on the object’s or product’s complexity, there are different clipping paths. Here are some of the most common types of clipping path:
Basic Clipping Path
The basic clipping path is the most straightforward type of clipping path. It involves creating a simple path around a subject or object using the Pen Tool in Photoshop. This type of clipping path is ideal for images with simple shapes and backgrounds.
Complex Clipping Path
The complex clipping path is used for images with more intricate shapes and backgrounds. This clipping path requires more time and effort, creating multiple paths around different image parts.
Super Complex Clipping Path
The super complex clipping path is used for images of highly complex shapes and backgrounds. This clipping path requires expert-level skills and can take significant time to complete. It involves creating multiple paths around different parts of the image and requires high precision.
Multiple Clipping Path
The multiple clipping path involves creating multiple paths around different parts of an image. This technique separates different parts of an image for further editing. For example, if you want to change a product’s colour, you can use a multiple-clipping path to separate the product from the background and create a separate path for each colour.
Clipping Path with Shadow
The clipping path with shadow technique creates a natural-looking shadow around an image. This technique involves creating a path around the subject, removing the background, and then adding a shadow layer underneath the subject. This type of clipping path is commonly used in product photography to create a 3D effect.
Why is Clipping Path Important?
As a graphic designer, the clipping path is essential in my work. It allows me to remove unwanted elements from images, isolate objects, and create professional-looking visuals. Here are a few reasons why the clipping path is important:
Benefits of Clipping Path
- Removal of Backgrounds: Clipping path enables you to remove backgrounds from images, which is especially useful in e-commerce product photography. By removing the background, you can create a clean and professional-looking image that highlights the product.
- Isolation of Objects: A clipping path can isolate objects in an image, allowing you to move them to a different background or use them in a different context. This is particularly helpful if you need to use an object in a design but don’t want to include the entire image.
- Precise Editing: The clipping path allows you to make precise edits to an image, such as adjusting the colour or brightness of a specific object. This level of precision can be difficult to achieve without clipping path.
Industries That Use Clipping Path Clipping path is used in a variety of industries, including:
- E-commerce: As mentioned earlier, clipping path is important in e-commerce product photography. Removing the background can create a consistent and professional look for your product images.
- Advertising: Clipping Path creates eye-catching visuals that highlight specific products or services.
- Publishing: Clipping path is also used to isolate images and create visually appealing layouts.

How to Create a Clipping Path in Photoshop
Creating a clipping path in Photoshop is a simple process that can help you isolate an object from its background. In this section, I will walk you through the tools needed and provide a step-by-step guide to creating a clipping path.
Tools Needed
Before we begin, make sure you have the following tools:
- Photoshop (any version)
- Pen Tool
Step-by-Step Guide
- Open your image in Photoshop.
- Zoom in to the area where you want to create a clipping path.
- Select the Pen Tool from the toolbar on the left side of the screen.
- Begin creating your path by clicking on the edge of the object you want to clip.
- Continue clicking around the object, creating anchor points as needed.
- If you need to create a curved path, click and drag the anchor points to create a curve.
- Once you have created a closed path around the object, right-click inside the path and select “Make Selection.”
- In the “Make Selection” dialogue box, set the “Feather Radius” to 0 pixels and click “OK.”
- Press “Ctrl+J” or “Cmd+J” on your keyboard to create a new layer with the clipped object.
And that’s it! Photoshop has successfully created a clipping path for you. With a little practice, you can create clipping paths quickly and easily.
Clipping Path vs Clipping Mask
When it comes to removing backgrounds from images, two popular techniques are clipping path and clipping mask. As someone who has worked with both, I can tell you that they have some similarities, but they also have some significant differences.
Clipping Path
A clipping path is a vector path that is used to cut out a specific part of an image. This technique is commonly used when you need to remove the background of an image and keep the subject in focus. Clipping paths are usually created using tools like Adobe Photoshop or Adobe Illustrator.
Here are some key characteristics of clipping paths:
- They are hard-edged, meaning that the path will create a sharp cut-out of the image.
- They are usually created using a pen tool or a selection tool.
- They are saved as a separate file or layer, which can be used in other programs or projects.
Clipping Mask
A clipping mask is another technique used to remove the background of an image. This technique uses a shape or a path to mask out parts of the image that you don’t want to see. Clipping masks are usually created using tools like Adobe Photoshop or Adobe Illustrator.
Here are some key characteristics of clipping masks:
- They are soft-edged, meaning that the mask will create a gradual transition between the subject and the background.
- They are usually created using a shape tool or a path tool.
- They are saved as a layer mask, which can be edited and modified later.
Differences Between Clipping Path and Clipping Mask
While both techniques are used to remove backgrounds from images, they have some significant differences. Here are some of the main differences between clipping path and clipping mask:
| Clipping Path | Clipping Mask |
| Hard-edged | Soft-edged |
| Created using a pen tool or selection tool | Created using a shape tool or path tool |
| Creates a sharp cut-out of the image | Creates a gradual transition between the subject and the background |
| Saved as a separate file or layer | Saved as a layer mask |
In summary, clipping path and mask are two techniques used to remove backgrounds from images. While they have some similarities, they also have some significant differences. Clipping paths are hard-edged and usually created using a pen tool or selection tool while clipping masks are soft-edged and created using a shape tool or path tool.
How Do I Make a Clipping Path in InDesign?
Clipping paths are a great way to create custom shapes for images in InDesign. Here’s how I create a clipping path in InDesign:
I was hoping you could select the image I want to create a clipping path.
Go to the Object menu and choose Clipping Path > Options.
I check the Preview box in the Clipping Path Options dialogue box to see the changes in real-time.
From the Type drop-down menu, I select Detect Edges.
If any areas inside the silhouette of the image should be clipped, I check the Include Inside Edges box.
Click OK to apply the changes.
If I want to create a more complex shape for my clipping path, I can draw it using the Pen tool. Then, I can use the Paste Into command to paste the image into the path.
It’s also important to note that InDesign has automatic methods to generate a clipping path. These methods include the Detect Edges option in the Clipping Path command, which generates a clipping path for a saved graphic without one. Additionally, there’s the Automatic Clipping Path option, which can be used for images with a transparent background.
Tips for Clipping Path Success
As a professional image editor, I have used clipping path techniques to isolate objects from their backgrounds for years. Here are some tips to help you achieve clipping path success with your images.
Best Practices
Choose the right tool: Photoshop offers several options for clipping path, such as the Pen tool, the Lasso tool, the Quick Selection tool, and the Magnetic tool. Choose the tool that best suits your image and your skill level.
Zoom in: Zooming in on your image will allow you to create a more precise clipping path. This is especially important when working with complex shapes and edges.
Use the right color: When creating a clipping path, use a colour that contrasts with the background of your image. This will make it easier for you to see the path you are creating.
Make use of layers: Creating a clipping path on a separate layer will allow you to make adjustments without affecting the rest of your image.
Common Mistakes to Avoid
Rushing: Creating a clipping path can be a time-consuming process. Rushing through it can result in a sloppy job. Take your time and be patient.
Overcomplicating: Sometimes, a simple clipping path is all that is needed. Overcomplicating your path can lead to errors and complicate the editing process.
Not checking your work: Always zoom out and check your clipping path to ensure it looks good. This will help you catch any mistakes before you move on to the next step.
Not using the right technique: Sometimes, a clipping path is not the best for removing the background from an image. In these cases, consider using image masking instead.
By following these tips, you can achieve success with your clipping path techniques and create professional-looking images.